
Hexo教程(一)搭建初始博客
Hexo教程–搭建初始博客
什么是Hexo?
Hexo 是一个快速、简洁且高效的博客框架。Hexo 使用 Markdown(或其他标记语言)解析文章,在几秒内,即可利用靓丽的主题生成静态网页。
搭建blog步骤
安装node.js\npm\hexo
用hexo创建初始页面
1 | 创建一个博客文件夹 |
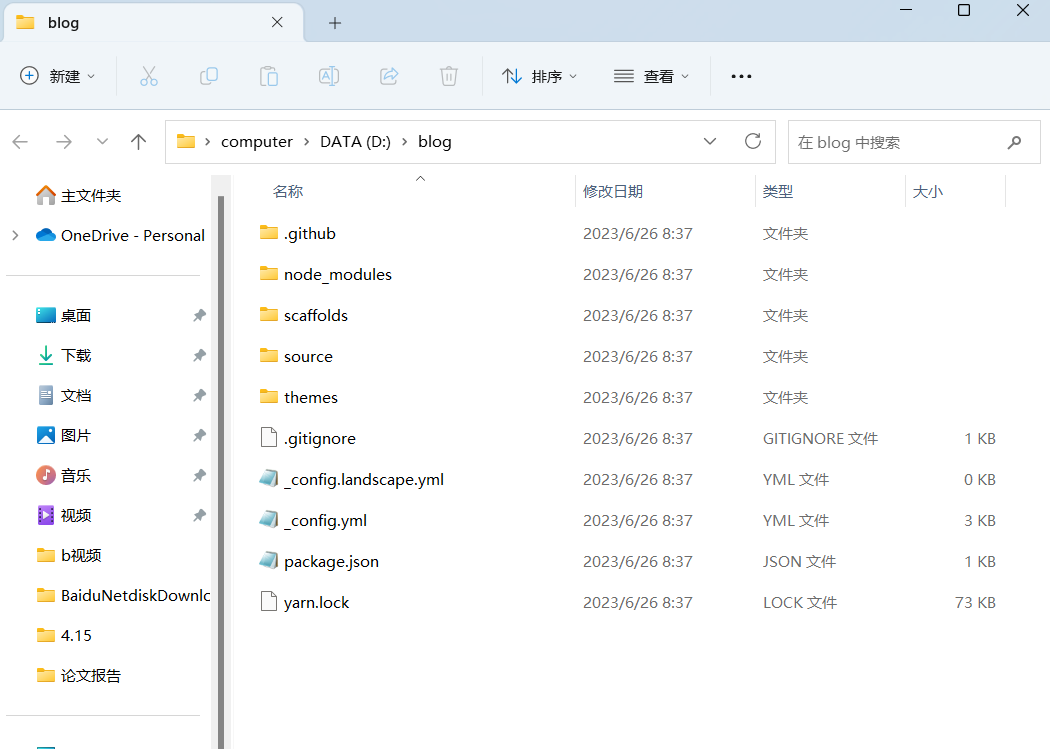
输入命令后blog文件夹中会生成以下内容
键入命令hexo generate ,生成静态页面文件
本地启动Hexo服务器,进行预览调试,键入命令:hexo server

在GitHub上部署
在github上创建一个新项目,命名必须规范shenyunmomie.github.io
在博客文件夹安装hexo-deployer-git自动部署发布工具
npm install hexo-deployer-git --save修改_config.yml文件

部署到远端GitHub
hexo d部署到远端时候,有时候会被墙,显示超时连接,就连科学上网也不总是管用,可以等一会多试几次
访问博客网站
https://shenyunmomie.github.io/
theme更换主题
以butterfly主题为例
首先去官网查看教程
https://butterfly.js.org/clone主题butterfly到theme目录

git clone -b master https://github.com/jerryc127/hexo-theme-butterfly.git themes/butterfly修改配置文件,更换应用主题

安装渲染插件,如果没有界面只有文字显示

1
2
3
也可以单独安装
npm install hexo-renderer-pug --save
npm install hexo-renderer-stylus --savePS:建议
将博客重新部署到远端,访问
1
2
hexo clean
hexo d
Hexo使用命令
1 | 新建文章 |
问题
部署的时候如果报错

先登录GitHub(二选一)
1 | git config --global user.email "18731548870@163.com" |
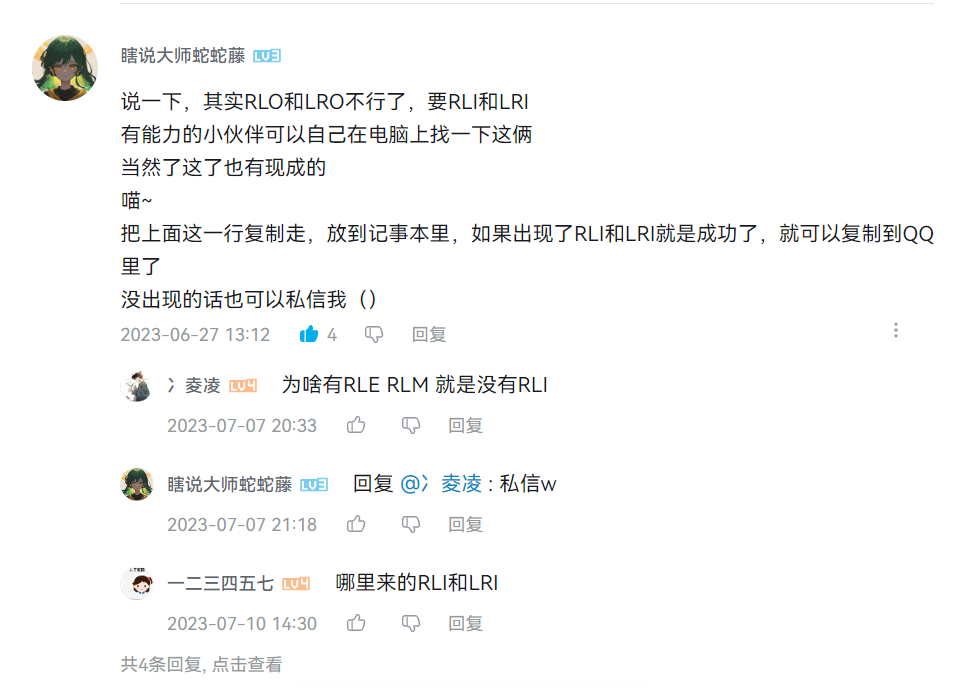
- RLI我也没找到,待验证
本博客所有文章除特别声明外,均采用 CC BY-NC-SA 4.0 许可协议。转载请注明来自 一个正常的人!
 wechat
相关推荐


评论